If you take the approach of creating a ton of data for a jobsite, it takes too much time and will confuse a field user that may not be aware of the enhancements made to their job. Some of our clients have used the following ideas at one time or another but not all of them at once. Another consideration is phasing and machine type.
There are two important things to consider before deciding to use information above a basic model; the benefit of the data in the field and the cost to produce it. Also confirm the desire and ability of field crews to wisely spend that additional work and money. Regarding enhanced data, I can work with two different crews from the same company and get buy in from only one. Culture sometimes is not companywide. You need a champion to grab a new idea and leverage it for real success.
JUMP TO SECTION
START AT THE BEGINNING
We need to establish a point of departure for my ideas. At the bare minimum, you should present to the field a correct finished surface model showing areas that are going to be worked with a blade. Nothing fancy, but a faithful representation of the intent of the job. I use the word intent with an explanation. It is the intention of all involved to have a good looking well performing site. If the plans don’t reflect it, you are the last line of sanity before something incorrect gets put in the ground.
This basic model is what most companies who do in-house data provide. Office staff are just too fractured to spend too much time on any one job. I know, I’ve been there. When field crews get comfortable with a basic model, they usually want more information to boost productivity.
We will increase data information with a new user as their comfort level increases. The real trick is providing what makes the most impact for boosting productivity.
ENHANCED DATA OPTIONS
I like to produce the most bang for our client’s buck, and the following concepts can get you there. I will go through these concepts in a video as well. A few minutes of screen time can say a lot.
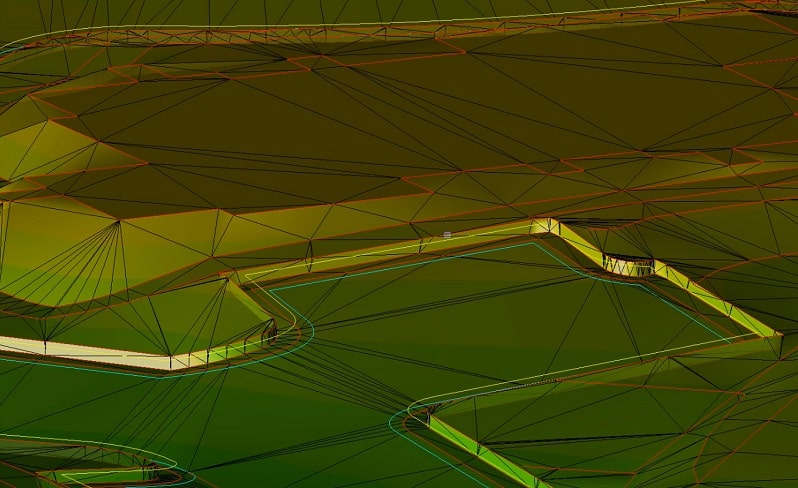
LINEAR FEATURES
Lines can be either 2D or 3D. Adding the third dimension may work okay for some data collectors but not machines. A 2D line with a surface reference beneath it seems to work in most cases. This will save on data prep time. The exception to this would be for a curb alignment in a parking lot. The top of a curb is only six (6) inches wide; to the inside of the line the elevation drops quickly to the gutter. We will often provide a top back of curb elevation surface that’s three (3) feet wide so the elevation is easy to find.
LAYOUT ITEMS
This broad term represents anything you might usually stake but want to reference at any time.
- Start with the building pad blowup lines and a surface to the extents. We often provide foundation footing trench information. This is usually bottom of footing with vertical steps and varying widths. Pad footing locations and grid layout lines help with larger projects.
- I’ll cover utilities in a separate blog post. There’s too much to list here. As a useful improvement to have on a machine or data collector, utilities are high on the list. 2D water, gas, and electric go a long way in helping the field team plan their trenching. Sloped pipe utilities are best laid out in 3D for improved production. Structures are often a mix of 2D and 3D information. More on that in the video.
SUBGRADES
I often get into lively conversations regarding subgrades. There are only two choices when it comes to cutting a subgrade; provide a surface file or dial down. We usually try to provide just a finished surface file for several reasons:
- Building additional surfaces cost money.
- When you dial down in a machine and offset a subgrade behind the back of curb the machine does a better job than data prep software. Let me explain here and in the video. Parking lots have variable cross slopes, often changing quickly and greatly. A horizontal offset in a machine correctly projects the slope. It is not easy to do this properly in the office.
Many data collectors and machines show the vertical offset on the screen, so you know when you are off finished grade. We also like finished surface files because they match the plans. This makes it easier to check grades against the plans without the potential for bad math.
HARDSCAPE
With hardscape there are a lot more things you are either responsible for or can just help to move along. When it comes to hardscape items, GPS can help with grading and the initial ground setup. We will usually include layout items that are 2D but beneficial.
- Streetlights: Parking lot lights can be laid out early so underground electrical can go in.
- Parking Lots: We provide layout for parking lot striping and special marking. This helps the striping to move along quickly.
- Playground Equipment: Layout is critical. Setting bases and foundations with technology is a time saver.
OFFSITES
Turn lanes are often built during a civil site improvement. When plans were prepared, the topo shows existing pavement elevations. Usually these are not correct as the topo is old or the lane was not shut down and the spots were estimated. Here is how we correct this:
- The contractor will get quality spot elevations at 10 feet along the proposed saw cut line.
- We bring the information into the model.
- Proposed changes are made in the model and sent to the contractor for submittal.
- Approved updates are sent to the field for work.
ENHANCED DATA ADVANCEMENTS
As we become more reliant on electronic data and placing dirt with technology, the idea of enhanced data might be considered standard by many. I will now go over some new and exciting offerings for data. Many of these suggestions are responses to questions that I’ve received. I appreciate the feedback and enjoy the interaction.
One of the biggest advancements we have enjoyed is the use and accessibility of drones and LIDAR. With an easier way to acquire current ground information, we now need to know the best way to work with it. Here are some tips and processes that will help.
The biggest issue we see with using alternate collection methods is platform compatibility. The LIDAR or drone shots do not match when compared in the office. Here is a process to try.
LIDAR
- Use the same control for scanner setup as you did for localization. You will need to bring in control quality points to the site and set up the machine over them. Might be best for your surveyor to add the points.
- When scanning, take some long occupation topo shots of the area being worked to compare at the office later
- TBC has a command called Points to Surface. Use it to see how things look.
- Usually there are greater vertical errors at the edges of scans, perform closer occupations to stop this.
- Never do an adjustment of a scan or tweak the data vertically. Go out and do it again the right way.
- Realize that sometimes LIDAR is not the tool and either use a drone or manually topo.
Drones
- Control is critical here. Make sure ground targets are survey grade and reuse the same locations on each flight. You need to pick target areas that will not be greatly disturbed during construction.
- Regarding light, flight time is important. Fly in the same sun angle every time, and as high as possible.
- Process the data the same every time. If you send it out, this may be harder but set the same options for each flight.
- Run the Points to Surface command in TBC. Carlson has the same type of command as well.
- Look for areas that are not in tolerance. Do not adjust anything; just go fly again tomorrow.
These tools are now affordable and easier to use than ever. Your use of the surfaces created and enhanced data will improve efficiency and profitability.